Violins Learn More - How They Are Made
How a Violin is Made
Selecting the right piece of wood
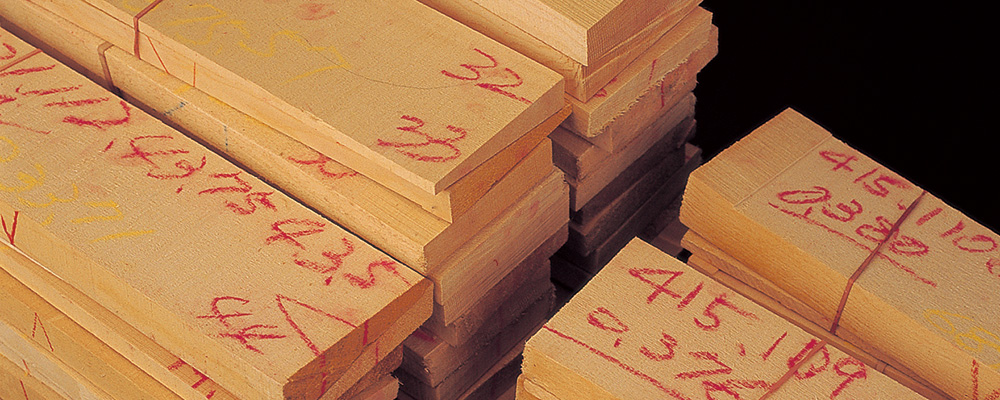
Storing materials 24 hours a day, 365 days a year
The wood that will eventually be used to make a violin is stored in a temperature and humidity controlled room 24 hours a day, 365 days a year, to preserve the moisture in the wood.
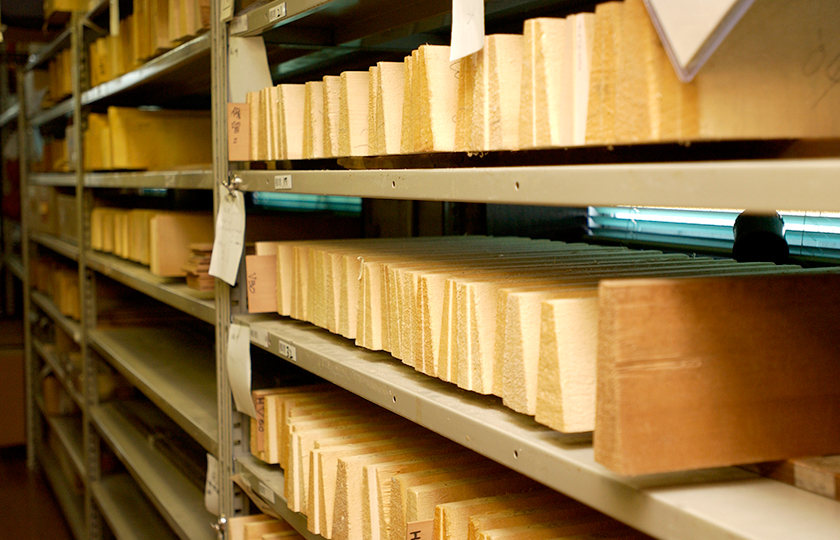
Storing materials at a certain temperature and humidity before processing
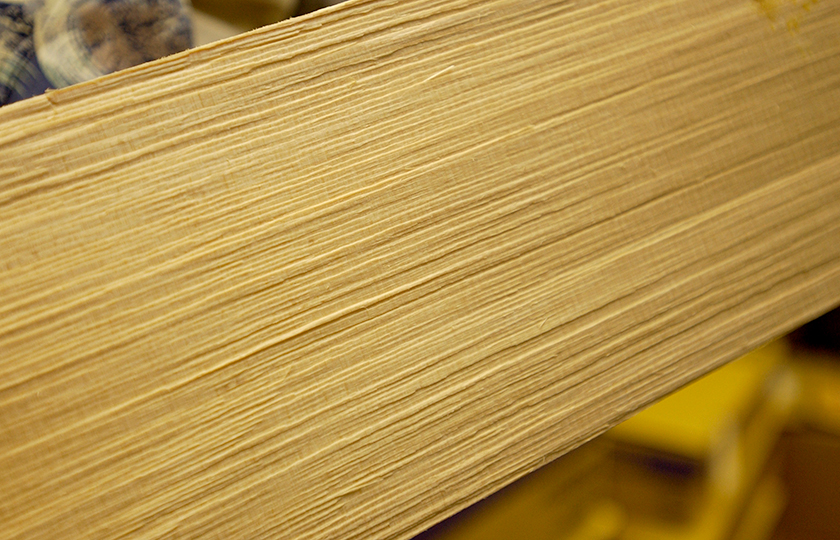
A piece of spruce for the top plate cut cleanly with a hatchet along the grain
Top plate materials come from fir trees
Top plate materials come from the resonant and light, but hard, spruce tree, which is a type of pine tree in the fir family. The spruce looks like the type of fir trees that are used as Christmas trees. Strong pieces in which the fibers run straight are selected, and a hatchet is used to split it so that the fibers are not cut.
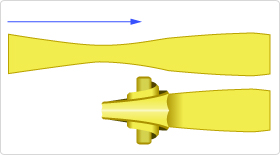
Matching two symmetrical trapezoids
When cutting material from a tree, the outer portion where the age rings are denser is cut thicker, which forms a trapezoid as shown in the diagram. When the left and right sides are put together, the outer portion, which is the hardest portion because of the denser age rings, falls in the middle, where the bridge is placed. This also makes the grain of the wood symmetrical, which means the vibration qualities are symmetrical as well.
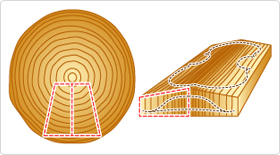
Obtaining the top plate and bottom plate from a tree
Craftsmanship is also important!
Maple is used for the bottom and side plates because of its beautiful wood grain pattern. Practical considerations are not the only concern. Craftsmanship is also important.
How a Violin is Made
Shaping the ideal tone
The roundness of the body requires a craftsman's skill
The body of a violin is rounded, and in fact, the thickness of the wood is not uniform either. Both the shape and the thickness describe a gently curving line. This lack of a straight line as a point of reference makes it very difficult to accurately shape. Thus, shaping is normally left to the judgment of an experienced craftsman.
The thickness of the bottom plate also varies, so that its surface forms a curved line.
Yamaha's shaping method
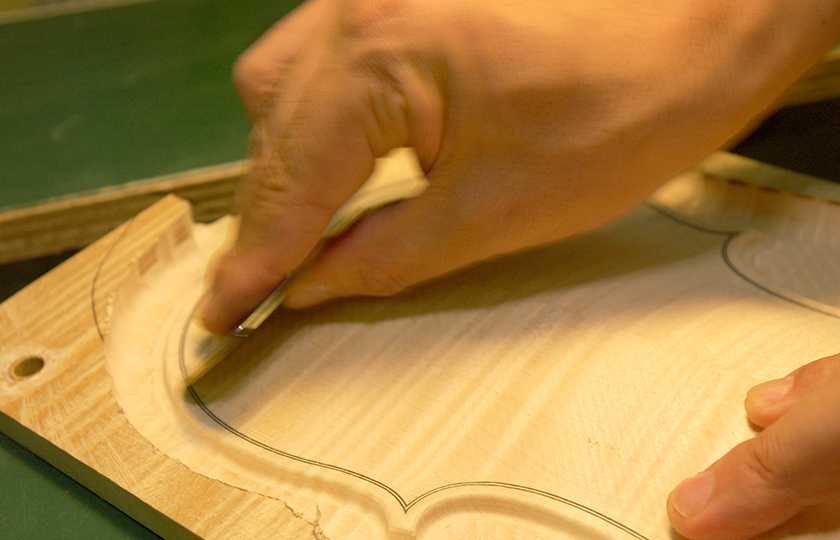
Using a scraper to remove bumps from the top plate
The ideal shape for both the top and bottom plates are stored as three-dimensional data in a computer. This data is used in a high-precision technology called numerical control (NC) processing, which shapes the wood. After an initial rough shaping, a groove is carved around the edge and purfling, a three-ply piece of wood with black, white, and black plies, is inserted by a craftsman. Then, NC processing is applied again to complete this stage of the shaping. This is not, however, the end of the shaping process. In the end, a craftsman uses a scraper to remove the 0.1 mm bumps that remain on the surface of the top plate.
In order to obtain the best tone from the wood, the tonal qualities of the top and bottom plates are measured during the shaping process. This process is repeated during the attachment and shaping of the bass bar on the top plate.
To measure the tonal qualities of a piece, a craftsman knocks on the piece in front of a special measuring device. The frequency and volume of the sound thus produced is instantly shown as a graph on the display. If the wood is hard or light, the tone is higher, and if the wood is soft or heavy, the tone is lower. The graph will change depending on the characteristics of the wood, and this is used as a reference during the shaping process.
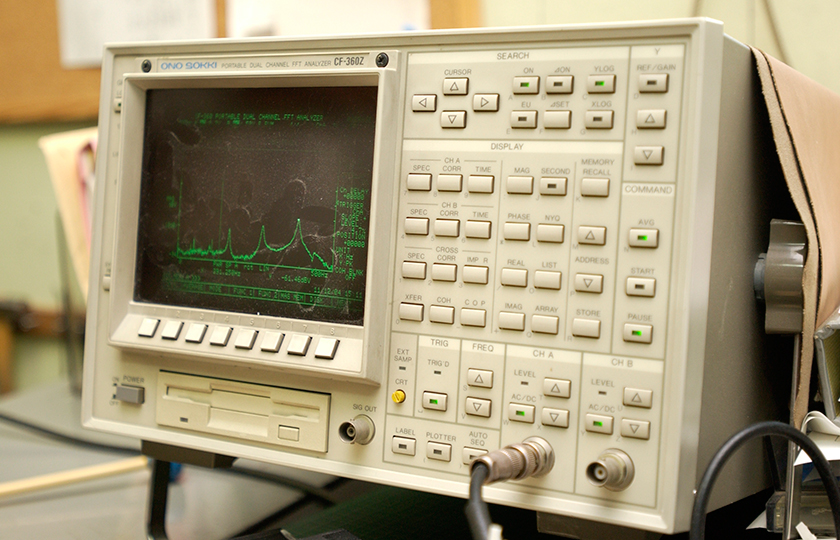
Tone measuring device: The x axis shows the frequency, the y axis shows the volume
Creating the curved side plates
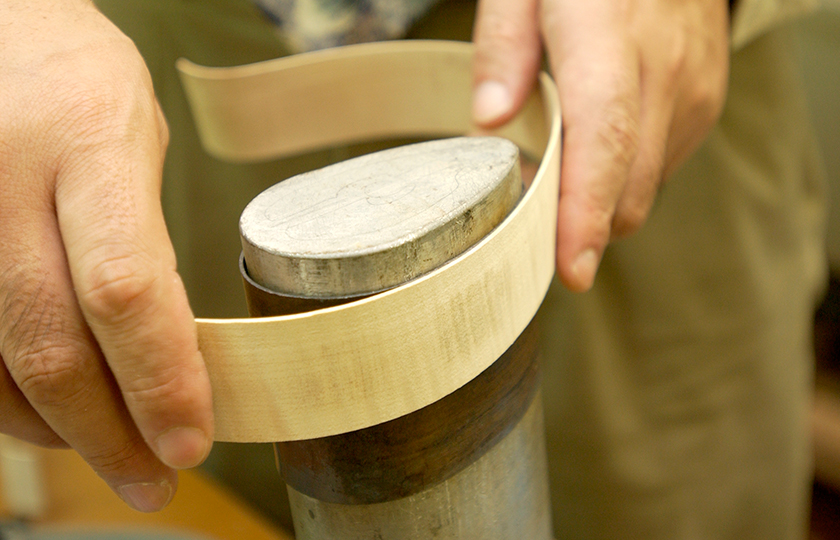
Pre-bending a side plate with an iron
The scroll is at the very top of the neck. The scroll is intended to look like a rolled up strip that is narrower in the middle. The craftsman's skill is demonstrated in the symmetry of the scroll. When the necks of older violins need to be replaced, often times the scroll and the body are kept, and the central part of the neck alone is replaced.
The highpoint of craftsmanship: the scroll
The scroll is at the very top of the neck. The scroll is intended to look like a rolled up strip that is narrower in the middle. The craftsman's skill is demonstrated in the symmetry of the scroll. When the necks of older violins need to be replaced, often times the scroll and the body are kept, and the central part of the neck alone is replaced.
The scroll is carved to look like a rolled up strip that is thinner in the middle
How a Violin is Made
Varnishing, assembly, and then some
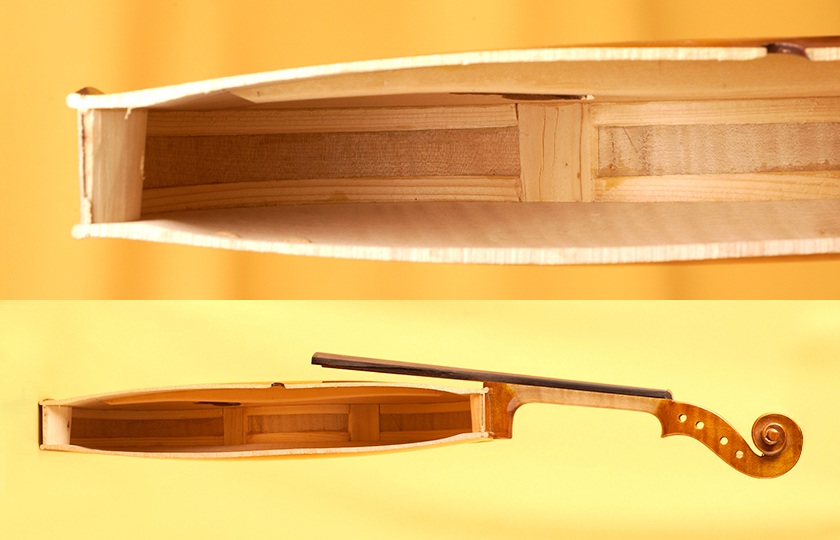
The white violin
Once the top plate, bottom plate, side plate, and neck have been shaped and assembled, you have a white violin. Now it is ready to move on to the varnishing and assembly process.

A white violin before the neck is attached
Repeated varnishing, drying, and polishing
This process is sensitive to dust, so the varnishing space has controlled air flow that ensures the air flows smoothly only from the top to the bottom of the room to keep the room clean. First the wood is treated with a filler to prevent the varnish from being absorbed, and then a colored varnish is applied in several layers. Each time, the varnish is allowed to dry and is polished to give it a lustrous shine.
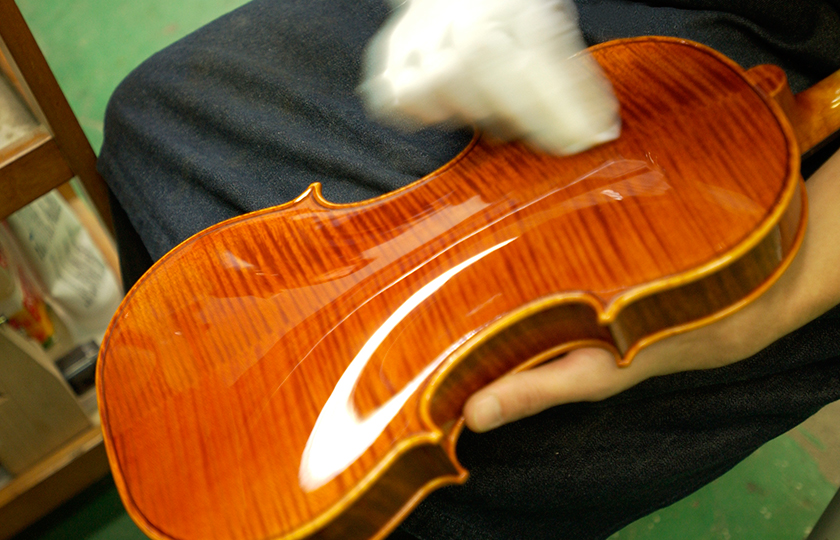
Polishing between applications of varnish
Install the sound post, and it is complete!
Next we move to the assembly process. The fingerboard and nut are attached first, and the bridge is put into place while the strings are being attached. The sound post is then installed, completing the assembly.
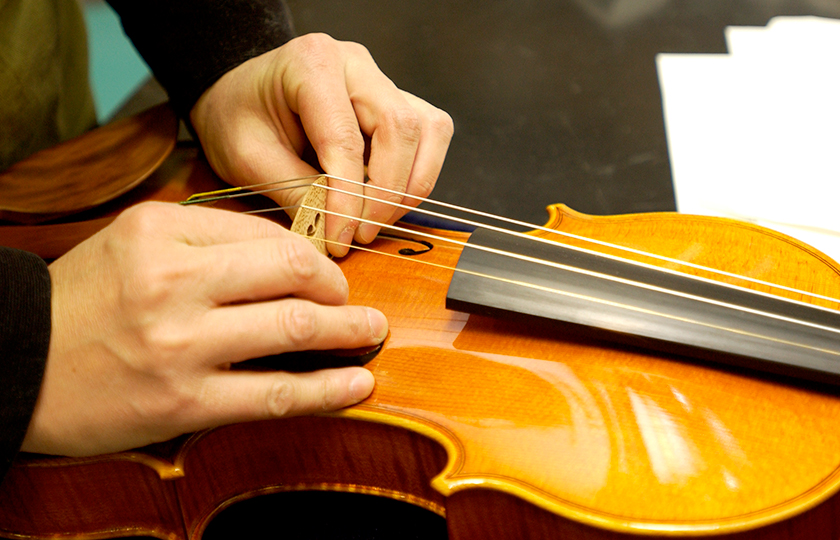
The bridge is installed while stringing the violin.
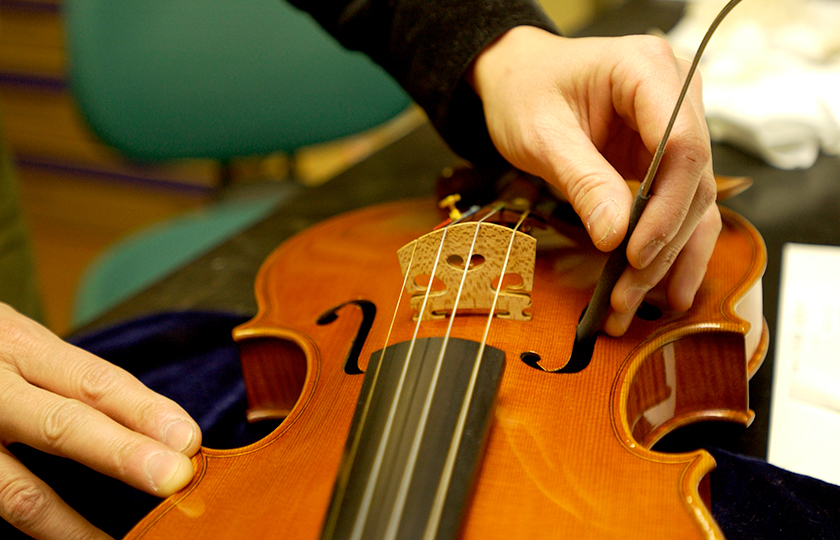
Installing the sound post through the f-hole
Using a special tool designed for this purpose, the sound post is installed through the f-hole. The sound post is not just sandwiched between the top plate and bottom plate. It must be installed in the proper position and be perfectly perpendicular to the plates, and it must also be positioned properly in relation to the bridge. In some cases, the sound post is tapped, and the resulting sound indicates whether it has moved or not.
Ways to make a new violin sound better
The sound of a violin gets better the more it is played. Routine seasonal changes also help to remove new instrument distortions. Speeding this aging process along is the objective of Yamaha's Initial Response Technology. Through this technology, even a new instrument can produce a richer resonance without noise. This technology works by applying a vibration to the bridge and tailpiece of an instrument, which produces exactly the same effect as playing the instrument with a bow for a long time.